How to change the colour of clothes in a photo: Photoshop, Canva and AI compared
Three ways to change a shirt or dress colour in a photo: a masked Hue/Saturation layer in Photoshop, a palette swap in Canva, or an AI recolour. What each one preserves, where each one fails, and what it costs per image.
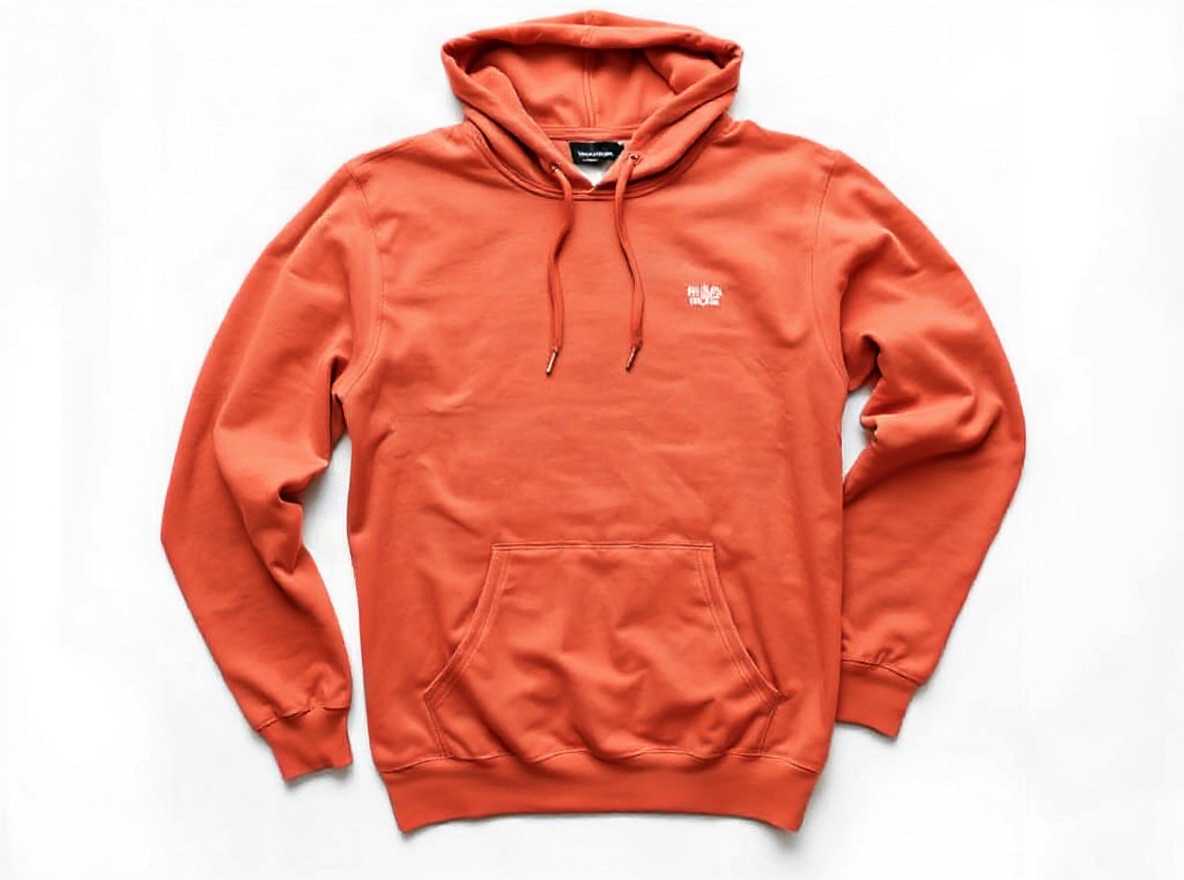
You change a shirt's colour by masking the garment and shifting its hue, by swapping a sampled colour swatch, or by letting an AI model repaint the garment's hue while leaving texture, folds and the rest of the photo alone. Which one you pick depends on how many images you need, how much detail (prints, embroidery, trim) has to survive the edit, and how much time you can spend per image. This page walks through each route step by step, what to check before trusting an AI output, and when speed matters more than precision.
Key takeaways
- Photoshop's masked Hue/Saturation layer keeps fabric texture and shadows because you never repaint pixels, but the mask around hair, fingers and trim is the whole job.
- Canva's colour swap replaces sampled colours in the image; it is palette remapping, not a repaint, so it works on flat graphics far better than on photographed fabric with folds.
- An AI recolour renders the new colour under the original light in one pass; it handles solid garments and single-colour parts well and cannot change one colour inside a two-colour stripe or check.
- Cost: Photoshop and Canva are subscriptions plus your time; PicBarn's recolour is 2 credits per image, about US$0.50, with 5 free credits on sign-up.
Why "change the colour" means something different in each tool
These three tools are not doing the same operation. Photoshop's Hue/Saturation route shifts the hue of pixels you have masked, so it is a real colour transformation of the selected region. Canva's version samples the dominant colours already present in the photo and lets you substitute one swatch for another, which is palette remapping, not a repaint. An AI recolour works differently again: it regenerates the colour of the named part from a colour description, keeping the weave, seams, shading and highlights, and leaving logos, prints and everything outside the named part untouched.
That difference decides the result. On a product photo with sharp shadows and folds, a palette swap can leave patchy colour because the substitution only touches pixels in the sampled range. A masked Hue/Saturation shift carries the original shadows and creases across untouched, but a hue shift keeps the brightness curve of the old colour, so a dark navy turned to pale yellow looks muddy. An AI pass renders the colour under the light, so a terracotta hoodie gets warm dark folds and pale highlights the way a real terracotta hoodie would.
Step by step: how do I change someone's shirt colour in a photo?
The Photoshop route (mask, Color Range, Hue/Saturation)
- Duplicate the image onto a new layer so the original stays untouched.
- Build a mask of the garment: a selection tool plus the mask icon in the Layers panel, refining the edge with a soft brush, or Select → Color Range with the eyedropper on the shirt, then tighten the Fuzziness slider.
- Add a Hue/Saturation adjustment layer clipped to the mask, tick Colorize for a full colour change, and drag Hue, Saturation and Lightness until the colour matches.
- Check the edges at 200%: hair, fingers, contrast stitching and anything in a similar colour to the shirt that the mask picked up by mistake.
This stays non-destructive, so you can tweak or remove the change later. The trade-off is the masking step: a clean mask around hair or fine trim takes practice, and none of this is one click. Budget ten to twenty minutes per image once you are fluent.
The Canva route (sampled swatches, Brand Kit colours)
- Upload the image and place it on the canvas.
- Select the photo; the colour panel shows the dominant colours Canva detected.
- Replace the sampled swatch with your target colour, or pull one from the Brand Kit for consistency across a batch.
This is the fastest route once the image is uploaded. The catch is that Canva is substituting the colours it detected, not repainting the garment. On a photo with folds, shadows or trim in a different colour from the main fabric, expect uneven results in areas the sampled swatch did not reach, and expect contrast stitching or embroidery outside the swatch range to stay as it was. For logos and flat graphics it is ideal; for a photographed dress it is a thumbnail-grade result.
The AI route (name the part, name the colour, inspect)
- Start from the cleanest source photo: even light, plain background, garment fully in frame.
- Say what to recolour in words: "the hoodie", "the dress", "the left shoe", "the lid". On an on-model photo with layers, name the layer ("the jacket", not "the top").
- Pick the colour by name. "Navy blue", "terracotta" and "heather grey" steer the engine better than a hex code; a hex is read as a hint, not a measured match.
- Generate two or four variations when the exact shade matters.
- Inspect at full size: the darkest fold and the brightest highlight should still be there in the new colour; printed logos and labels should be untouched; nothing outside the named part should have moved.
The appeal is speed at scale: one source photo becomes the other five colourways without a reshoot, in about half a minute each. The catch is that an AI-recoloured photo is a rendering of the colour you named, not a measurement of your dye lot, so keep one real swatch photo in the gallery for colour-critical categories.
What to check before you trust an AI recolour
Solid fabrics and single-colour parts recolour best. A plain hoodie, a tee, a bag strap, a bottle cap, a label background: the engine changes the hue and keeps the material. A white chest print on a hoodie stays white.
One colour inside a pattern is the known limit. We tested a navy-and-cream striped tee three ways ("the navy stripes", "the navy blue stripes only, the cream stripes stay cream", and a stricter engine prompt) and every time the whole tee shifted. Stripes and checks are treated as one piece. If you need one stripe colour changed, Photoshop with a Color Range mask is still the way.
Reflective and layered surfaces need a second look. Sheer fabric, sequins, patent leather and metallic hardware carry highlights the engine has to reinterpret. Run one test image before batching a range and inspect it at full size, not in the thumbnail.
Cost and time, side by side
| Route | What you pay | Time per image | Best for |
|---|---|---|---|
| Photoshop | Creative Cloud subscription + your time | 10–20 min with a clean mask | One precise correction; one stripe colour; products with trim |
| Canva | Canva plan (free tier includes the colour panel) | 1–2 min | Logos, flat graphics, social cards |
| PicBarn recolour | 2 credits ≈ US$0.50 per image | ~30 s | Solid garments and single-colour parts, several colourways from one shoot |
Photoshop's masking step is the real cost driver: a seller who needs one colour variant spends most of the time learning to mask, while a studio that masks daily has the skill built in. Canva's speed only pays off when fine-detail accuracy does not matter. The AI route is the cheapest per image and the fastest, with the pattern limit above.
Fastest method to recolour a product in several colours at once
When you need the same product in five or six colourways, run the AI route once per colour from the same source photo: name the garment, pick a swatch, generate, download. PicBarn's change colour of clothes tool does this on FLUX Kontext, 2 credits per image, and the recolor image page covers non-apparel products. Photoshop can batch-process through Actions, but each action still runs against a mask you built once, so the quality depends on how well that mask generalises to the other photos.
For a single correction, a hero image that came out a shade off from the real product, a manual Hue/Saturation adjustment is the better fit. You do not need batch tooling for a one-off.
Free and low-cost options worth knowing about
Is there a free tool to change logo colours? Canva's free tier includes its colour panel, and a logo is usually solid blocks of colour, which is exactly where palette remapping works. For a photographed garment the same tool is a rough preview at best.
How do I recolour fabric while keeping a print intact? In Photoshop, mask only the solid-colour areas and leave the printed region outside the selection. In an AI tool, name the fabric, not the garment ("the grey jersey fabric") and check the print at full size; printed logos are normally preserved. Either way, test one image before committing a batch.
Can I try the AI route for free? New PicBarn accounts get 5 free credits, enough for two recoloured images to check how it handles your own product. See pricing.
FAQ
How do I change someone's shirt colour in a photo? Mask the shirt and add a Hue/Saturation adjustment layer in Photoshop; swap the sampled swatch in Canva; or use an AI recolour that renders the named part in the new colour. Photoshop preserves shadows best and handles stripes; Canva is fastest for flat graphics; AI is fastest and cheapest for solid garments and whole-object colour changes.
Can AI change the colour of clothes in a photo? Yes. Name the garment and the colour and the engine changes only that part, keeping folds, seams and lighting. The known limit is one colour inside a multi-colour pattern, which recolours as a whole.
Will the result match my real dye? No tool measures your dye lot. An AI recolour is a photographic rendering of the colour you named; use it for listing variants and keep a real swatch photo alongside for colour-sensitive buyers.
Does it work on a model photo? Yes. Skin, hair, background and other garments stay as they are; only the piece you name changes colour. Name the layer clearly when the model wears several.